All you need to know right now is the foundation of how to start a website. We can talk about fancy design tweaks and traffic boosting ideas another time, right? Maybe after you actually have a website to discuss? These 5 straightforward steps will walk you through how to start a website without getting overloaded by all the extra options:
Step 1: Get a Domain Name
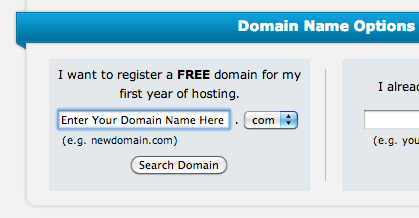
Your domain name is like the online address for your website, for example Lifehack.org, BeAFreelanceBlogger.com or Example.com. A domain name (including the part after the dot) has to be unique, so you might need to come up with a few different ideas if your favourites have already been registered for another website. Once you’ve found a unique domain name that suits you, register it for an appropriate length of time and it’s yours until the registration expires. What should you choose for your domain name? That’s up to you. The most important thing to ask yourself is, “Is it memorable?” If nobody can remember your domain name, then people aren’t likely to recommend your site by word of mouth or to find their way back to you after their first visit. So make your domain name clear, meaningful and easy to spell!
Step 2: Get Web Hosting
If a domain name is like the address of your website, then a web host is like a landlord who rents you the space at that address. The only difference is that you get to choose your web host independently of your domain name. Traditionally, you can’t choose an apartment and then choose your landlord, but with domain names and web hosts that’s exactly how it works. There are a lot of different web hosts to choose from, so do a little bit of due diligence to choose a reputable host with a package that’s a good match to your needs. Follow their instructions to update the domain name system to your new nameservers.
Step 3: Build an Empty Site
WordPress is one of the most popular solutions for building your own website without having to learn a lot of code. You can install it on your website pretty easily and if you want to make it even easier, choose a web host that gives you a “one-click installation” tool for WordPress. Once that’s installed, you can choose a theme to set the design foundations of your website, and customise elements of the theme to change specific features of your web design. This is when you have to start making choices about how you want your site to look: is it image focused or more based on writing? Is it colourful or monochrome?
Step 4: Add Content
You can add almost anything to your website, with as many or as few pages as you want. What’s going to work best to get your message across: text, images, audio, video? You might want to look into WordPress plugins and widgets that help you display everything just the way you want it.
Step 5: Test Everything
Once you’ve published your content, go back over it and check every page, every post and every hyperlink for screw-ups. Tidy up anything that isn’t working right and then do it all over again using a different web browser. Repeat these steps until you’re pretty sure you caught any major problems. That’s it, you’re done. Your website is live on the internet, and it works!

